Friday, March 16, 2012

Nail Art – Happy Baba Marta with a ‘Martenichka’ Nail Design


Hello everyone!

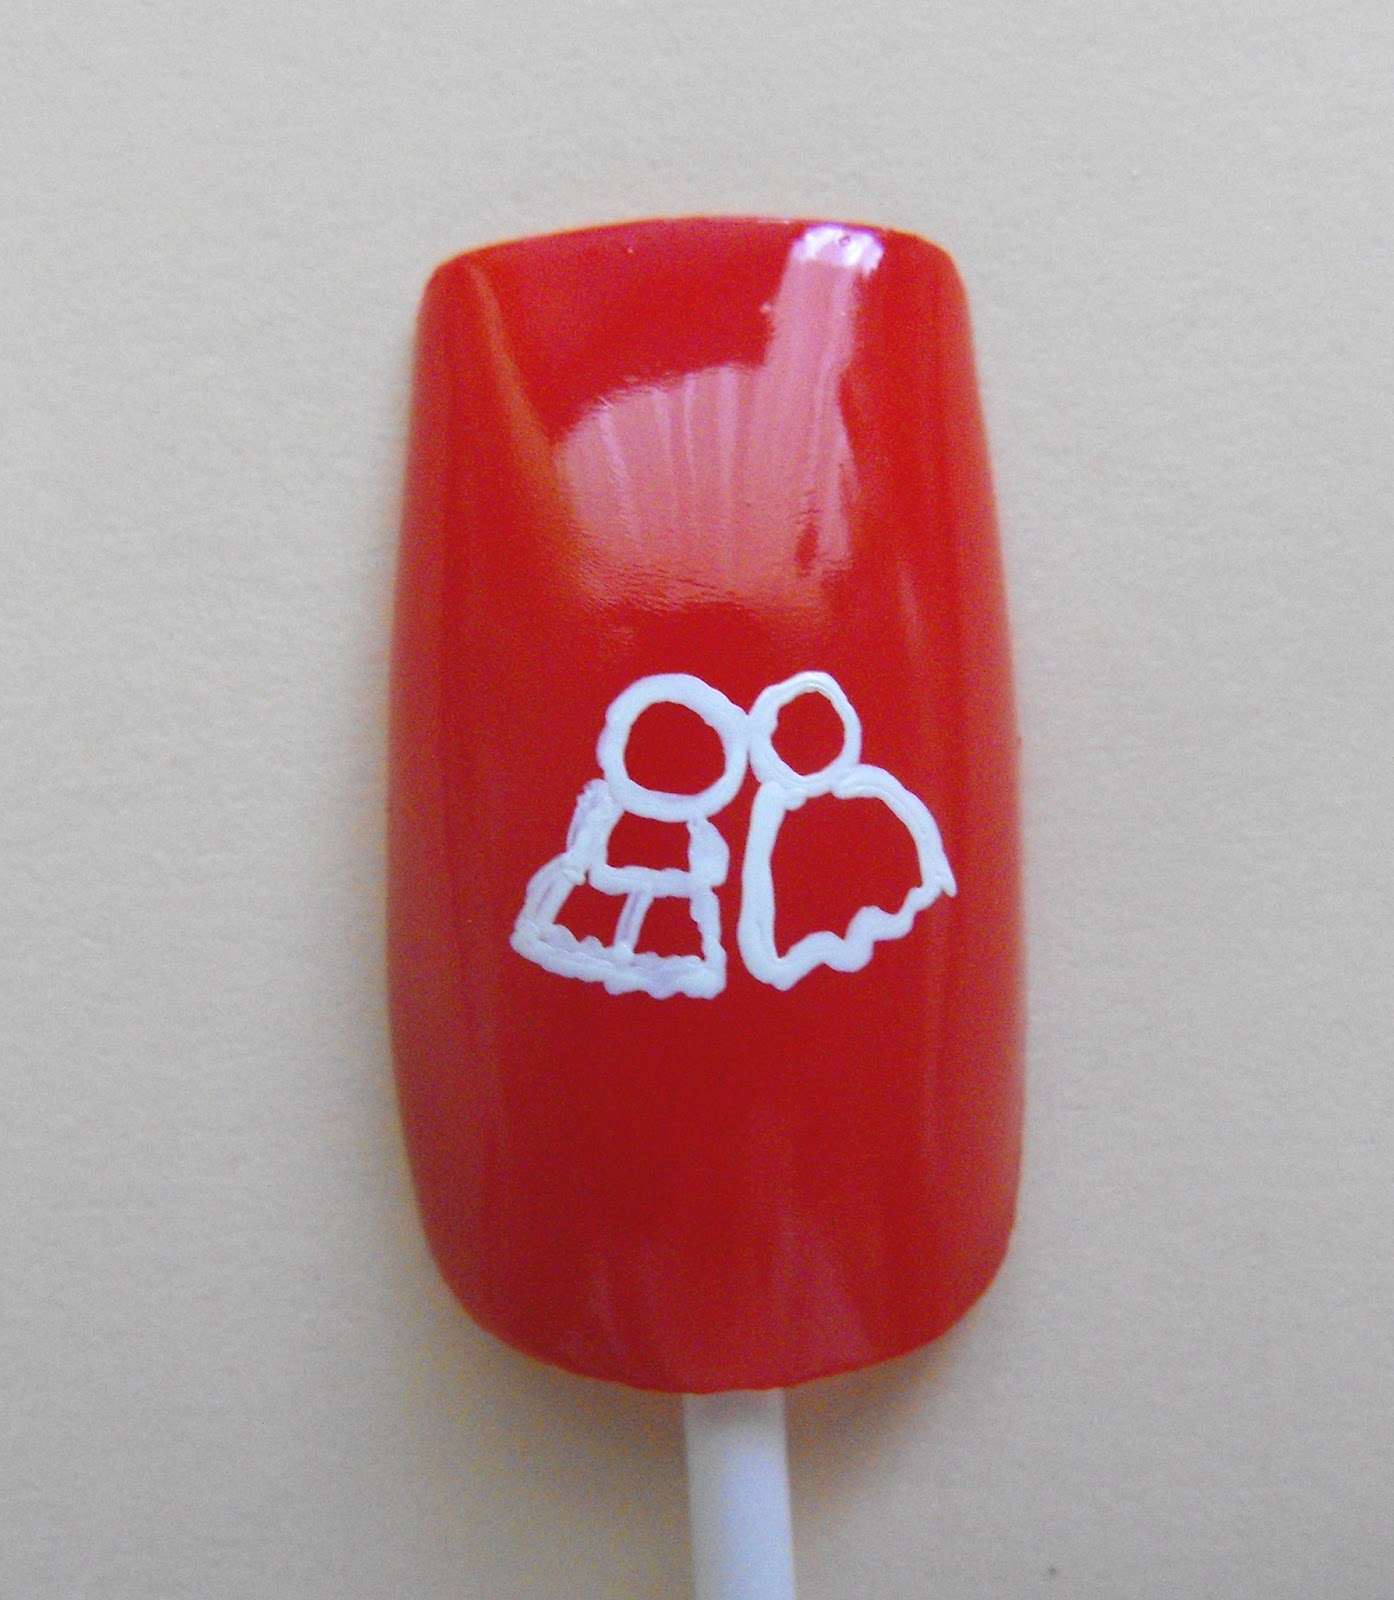
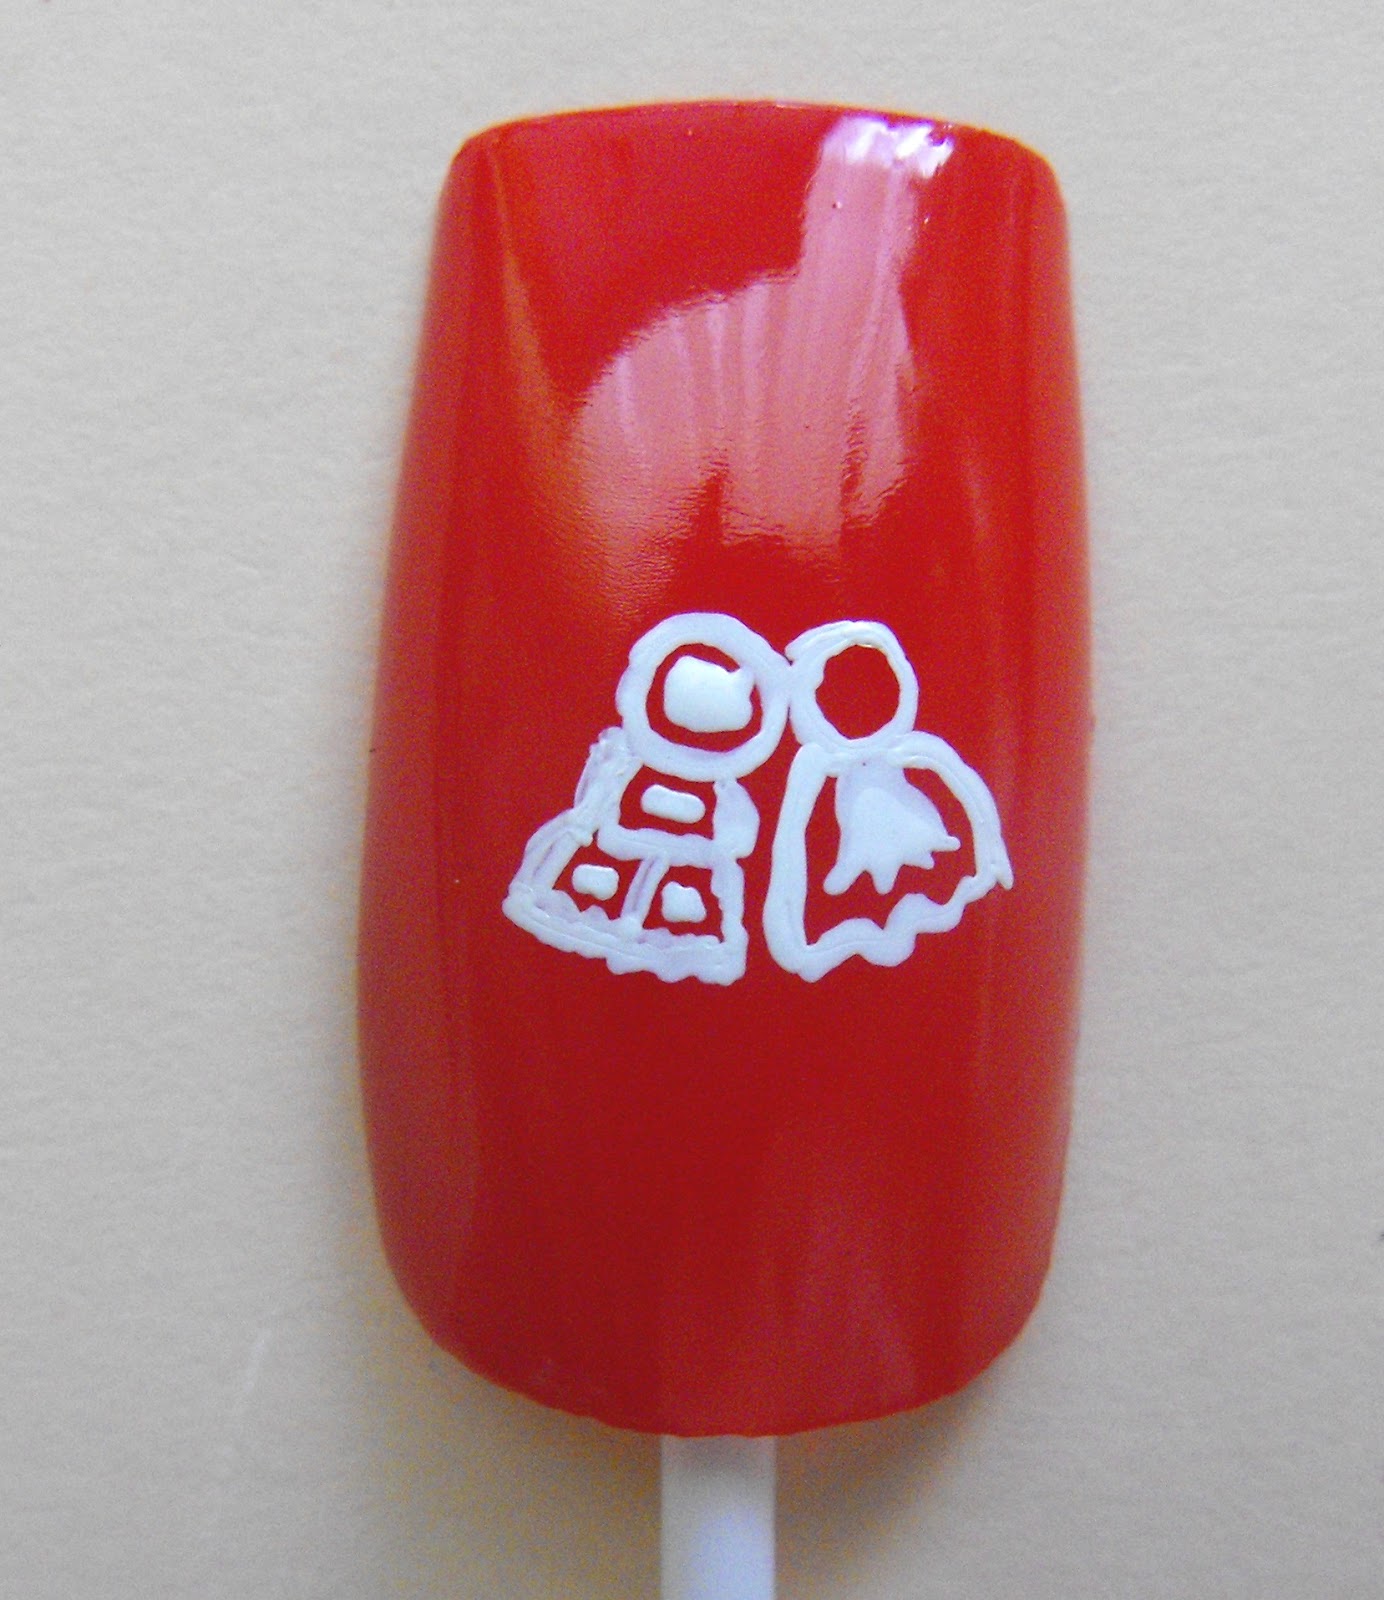
This is a design for a Bulgarian holidayBaba Marta. It is our tradition to wear red and white Martenichki during March to be healthy and happy. With this design I want to say Happy Baba Marta :)


Have fun :)

Products:

- Nail Polish for the background: red
- To seal the design: Top Coat
- Additional tools: detailer nail art brush (9mm), palette (I’m using a fake CD instead), glass of water, napkin


Design:

1. Apply red polish on all nails and wait for them to dry.


2. Draw a boy and a girl connected with a ribbon using the white paint. They are called Pijo and Penda.


You can make different designs using red and white during March – for good luck and health.


3. Apply top coat.


Greetings!

Monday, March 12, 2012

Nail Art Tutorial – How to make ‘Black & White’ Nails – 3 Nail Designs (Requested)


Hello everyone!
Today I want to show you 3 ways to make yourself a nice manicure, using white polish as a background and black and silver for decoration.


Advice: all three designs are easy and not very time consuming. Of course you can use different colors to make them. Have fun :)

Step by step Tutorial

Products:

- Nail Polish for the background: white
- Nail Polishes for the decoration: silver, black glitter, black decoration polish, clear glitter (combined based on the design)
- To seal the design: Top Coat
- Additional tools: dotting tool, thin brush form a decoration nail polish, cotton pad


Design:

1. Polish your nails with white nail polish and wait for them to dry.


For Design 1 - Flowers:

2. Using a black decoration nail polish make 2 halves of flowers (each having 3 petals) in both sides of your nails. It’s easier if you first make two guiding stripes.


3. Make 2x3 black decorating stripes. Wait to dry.


4. Make a glitter accent by using some silver polish on the black stripes and flowers.


For Design 2 - Glitter:

2. Apply one coat of clear glitter polish over your nails. Wait to dry.


3. Starting from the middle, draw some black lines over your tip-area. The line in the middle is the shortest.


4. Make silver dots along the black lines using a dotting tool.


For Design 3 - Tips:

2. Apply black glitter polish over your tips.


3. Make three black seedlings on the bottom part of your nails. On their ends, make big silver dots. Make a silver line over your smile line for an accent.


4. Decorate with black dots.


5. Seal your designs with a top coat.

DONE!


Hope you like these designs. Give them a try :)

Good luck!

Nail Art Tutorial – How To Make ‘Green Nails’ Nail Design


Hi there!

This design is very simple and suitable for everyday ware :)


Advice: You can easily use nail polishes instead of acrylic paints for this design. Have fun :)

Products:

- Nail Polish for the background: light green
- Nail Polishes for the decoration: blue, magenta, yellow
- To seal the design: clear glitter polish / Top Coat
- Additional tools: detailer nail art brush (9mm), palette (I’m using a fake CD instead), glass of water, napkin


Design:

1. Apply green polish on all nails and wait for them to dry.


2. Cover your tips using blue, magenta and yellow polishes.


3. Decorate with black and white dots and lines.


4. Seal your design with glitter polish or clear top coat.

DONE!


Use your favorite colors :)

Be safe!

Nail Art Tutorial – How To Make ‘Printed Motives’ Nail Design With No Hand Painting


Hi everyone!

Today I want to show you how you can make whatever motives you want on your nails, without the need to paint them. The end result is always stunning :)


Advice: according to your outfit, rings or  just your mood, search in Google Images for suitable motives. The best choice for Nail Art are the ‘flourishes’, ‘swirls’ or ‘lace stamps’. So just choose your motives and print them very small (depending on your nail size). The ones I use in my examples are here http://www.stampersbest.com/product.php?productid=25&cat=19&page=1 and here http://store.scrapbookbasics.net/index.php?_a=viewProd&productId=76 . You don’t need any experience, steady hand or lots of time. Have fun :)

Step by Step Tutorial

Products:

- Nail Polish for the background: white (because we print our motives on white sheets)
- To seal the design: Top Coat / glitter polish (it will hide all eventual traces of the paper)
- Additional tools: tweezers, scissors, glass of water, printed motives, dotting tool to place rhinestones


Design:

1. Polish all nails with white polish. Let them dry.


2. Incise most accurate the motives you will use. Place them in the water for 3-4 min. to make them soft enough.


3. Using tweezers place the motives on a desired place over the nails. Press them well with your fingers, so that they stick to your nails. If the motives are bigger than your nails, just cut out the excess parts a little bit shorter than needed in order to avoid liftings. 


4. You can decorate your nails with rhinestones, pearls, dots, etc.


5. Apply a top coat! This is very important in order to seal the motives on place.

DONE!


Use your imagination and create great nail designs, with no need to buy self-adhesive motives, or pain them by hand. Using this method you can have great and professional looking nails with a minimum effort :)


Greetings!