Hello everyone!
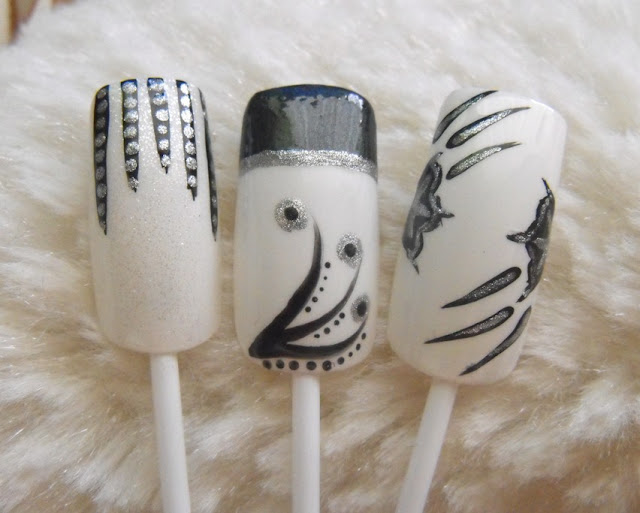
Today I want to show you 3 ways to make yourself a nice manicure,
using white polish as a background and black and silver for decoration.
Advice: all three
designs are easy and not very time consuming. Of course you can use different colors
to make them. Have fun :)
Step by step Tutorial
Products:
- Nail Polish for the background: white
- Nail Polishes for the decoration: silver, black glitter,
black decoration polish, clear glitter (combined based on the design)
- To seal the design: Top Coat
- Additional tools: dotting tool, thin brush form a decoration nail polish,
cotton pad
Design:
1. Polish your nails with white nail polish and wait for
them to dry.
For Design 1 - Flowers:
2. Using a black decoration nail polish make 2 halves of flowers
(each having 3 petals) in both sides of your nails. It’s easier if you first make
two guiding stripes.
3. Make 2x3 black decorating stripes. Wait to dry.
4. Make a glitter accent by using some silver polish on the
black stripes and flowers.
For Design 2 - Glitter:
2. Apply one coat of clear glitter polish over your nails.
Wait to dry.
3. Starting from the middle, draw some black lines over your
tip-area. The line in the middle is the shortest.
4. Make silver dots along the black lines using a dotting
tool.
For Design 3 - Tips:
2. Apply black glitter polish over your tips.
3. Make three black seedlings on the bottom part of your
nails. On their ends, make big silver dots. Make a silver line over your smile
line for an accent.
4. Decorate with black dots.
5. Seal your designs with a top coat.
DONE!
Hope you like these designs. Give them a try :)
Good luck!


No comments:
Post a Comment