Hi guys!
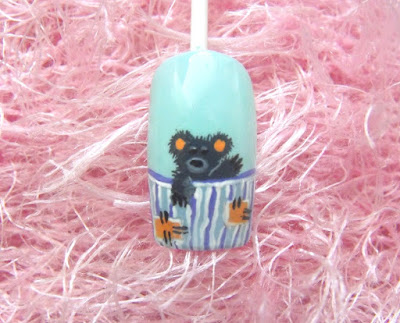
This design is very playful and fun, although a bit harder
to make :)
Advice: Make the small
Teddy just on one of your nails – as an accent. This way it won’t take long and
it will look really cute. When you make this design on your own nail, just turn
your fingers so that they face you and that you’ll see Teddy straight. Have fun
:)
Step by Step Tutorial
Products:
- Nail Polishes for the background: silver-blue, light blue
- Acrylic Paints for the decoration: black,
white, orange, purple
- To seal the design: Top Coat
- Additional tools: detailer nail art brush (9mm), palette (I’m
using a fake CD instead), glass of water, napkin
Design:
1. Apply light blue polish on all nails and wait for them to
dry.
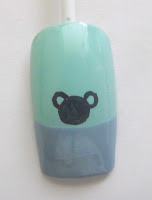
2. Using a silver-blue color polish your tips – this will be
the blanket of our small Teddy bear. Let dry.
3. With white and black paint, make two shades of grey – dark
grey for Teddy and light grey for its muzzle. Using the dark grey, make the
head and the years, starting with a circle above the smile line. -
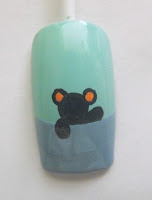
4. Make the two paws such that the one ‘says hi’ and the
second one covers the blanket.
5. With light orange (orange + white) paint the inner of the
years and use light grey to make the muzzle.
6. Make many dark grey small thin lines around Teddy to make
him fluffy.
7. Make eyes and x3 claws with black.
8. You can decorate Teddy’s blanket with purple, orange and
white lines and patches. Make a small black nose. You can put two small light
grey lines above the eyes to make them more visible.
9. Apply a top coat! This is very important, because the
acrylic paints are water dissolvable. When you’re finished, don’t forget to
wash the remaining paints with water off of your palette.
DONE!
Cover Teddy with a worm blanket for the cold days :)
Good luck!


No comments:
Post a Comment