Hi everybody!
Today’s design is a variation of a French manicure – the tip is going down and curving towards the bottom part of the nails. This design may look very nice when applied even only on your ring fingers. It will bring you a nice and interesting accent.
Side Nail
Advice: This design is very quick and pleasant to work on. If you accidentally put some polish on your skin while applying the black color, just use a polish removal stick or a regular ear stick soaked in nail polish remover. Have fun :)
Step by Step Tutorial
Products:
- Nail Polishes for the background: light orange / flesh-color (depending on your skin tone), black
- Nail Polishes for decoration: light green, dark green, white
- To seal the design: Top Coat
- Additional tools: dotting tool, thin brush from a decoration nail polish, cotton pad, piece of paper (to put on your nail polishes for the decoration), decoration red flower

Materials
Design:
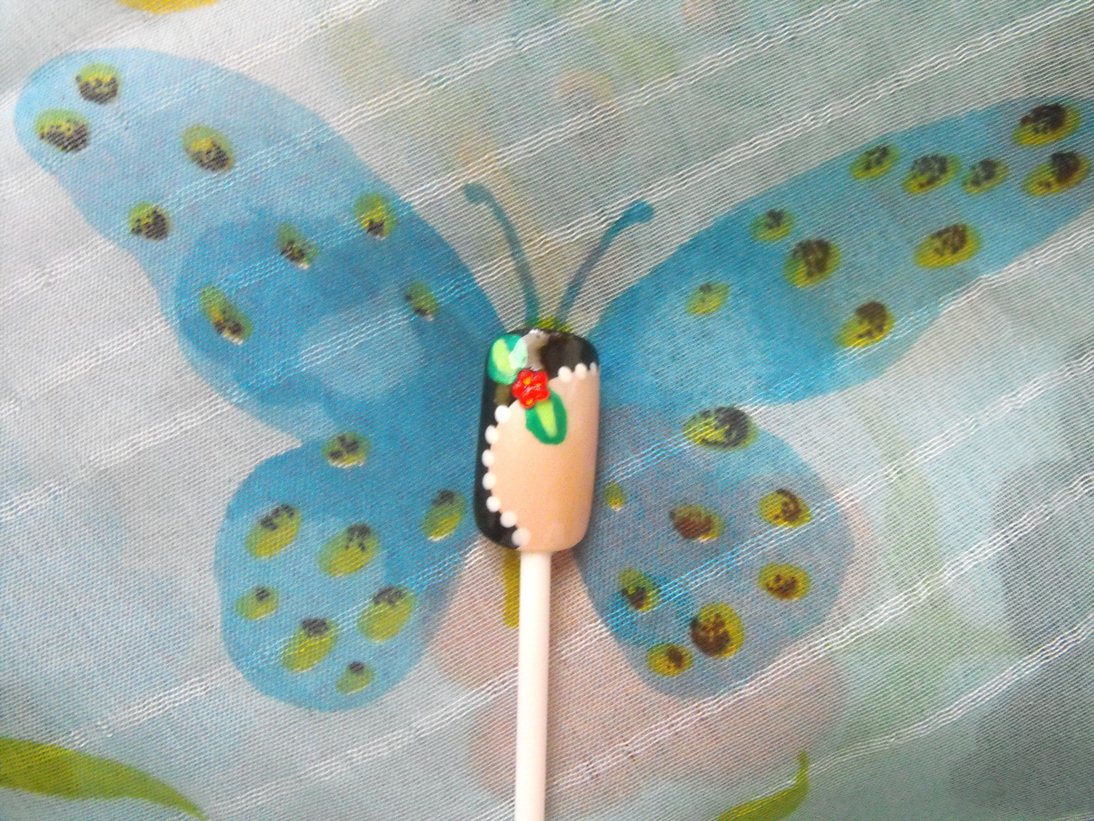
1. Apply a flesh-colored nail polish over all nails and let it dry.

2. Make a sideswipe with black nail polish, starting from the bottom part of your nail and curving it until it covers your tips. Let it dry.

3. Using the thin brush elaborate two diagonal paddles, starting from the widest black-colored area. They are light green and have dark green outlines.

4. Apply a drop of clear polish between the two pedals and place a decoration (flower, stone…) with your dotting tool. Again, with the dotting tool make some white dots along the line between the black and the background color. Wait for the design to dry.

4. Apply a top coat.
DONE!


You can use your favorite colors as well :)
Till next time!
P.S. Inspired by love4nails
No comments:
Post a Comment